Ithorian (Hammerhead)

Ithorian customer in the cantina

Ithorian customer in the cantina

And now we come to my current project, aiming to be debuted at the 2014 Comic-Con in San Diego. What's different about this one is that it's not based on a specific character, but instead it's a member of the species that only had about 2 seconds of screen time in the first Star Wars film. Most folks know them as the hammerhead looking guy in the cantina scene. Officially they are known as Ithorians, and there are a large number of characters from that species in the extended universe.

Star Wars: The Old Republic, head and torso shot

Star Wars: The Old Republic, hands and feet

They also appear from time to time in the game Star Wars: The Old Republic, and I captured screen shots of those characters whenever I came across them in the game.

Model front view...

and side view

My first step was to take a wooden artist's model and use Plasticine to create a scale reference. That let me experiment with proportions and shapes until I got a look that was a nice synthesis of the reference photos. From that I took a bunch of measurements and scaled them up to my size.

Making a pattern on muslin that fits to my body form

The final FX corset fitted to the form

My next step was to make a foundation for the costume. Based on some videos I've seen, I decided to make an FX corset. This is a standard costuming trick used whenever a special effects prop needs to be attached to the performer's torso. I used my body form (which I've talked about in other blog entries) to create a form fitting pattern. I sewed it up and then adjusted it on the form as well. I ended up with a corset that fits solidly and securely. And the lacing on the side lets me adjust for any body shape changes.

Back of corset showing mounting pockets

Side/front view showing the overall support structure

Next came creating a structure on which I can build the body. The outer structure will be upholstery foam, and I'll need the structure to hold it up. It should hold the shape of the body's "hump" around my head, provide attachment points for mounting actuators and other controls, and let me counterbalance the eyes that will be cantilevered off the front of the structure. I used aluminum tubing to keep the weight down but still maintain strength. Also, most of my woodworking tools can work with aluminum, so my wood shop is now also a metal shop (actually, I already use the shop to do a fair amount of metal and foam work). The first picture shows how I use a Styrofoam head for sizing the supports, and also shows the pockets sewn onto the corset for holding the aluminum tubes. The second picture shows the full support structure along with the spring supporting the forward part of the head.

Chicken wire molded to shape the outer shell

Cover with aluminum foil and then duct tape

Complete duct tape layer, mark the pattern cuts

Aluminum foil/duct tape pieces laid flat and transferred to construction paper

Cut off the outer layer along pattern lines

To create the foam body, I needed to make a pattern. I used chicken wire to mold the shape I wanted over the support structure, using the clay mold as a guide. The wire was fairly easy to shape, being both light and flexible, and duct tape held pieces together as needed. Once the shape was good, I covered the whole thing in aluminum foil and then duct tape to hold the final shape. Next, I cut the foil and duct tape shell up into the pattern pieces for the foam and then transferred the shapes onto construction paper to be the final pattern.

The foam body built from the pattern. The head has an additional modification based on the eye components

The pattern was then transferred to 1" foam, the foam pieces were cut out, and then it was all glued together. I used Weldwood contact cement (made by DAP) on the foam. It's smelly to work with, but the final glue joint is very strong. I never got a picture of the original foam structure. The above picture was taken after modifications made for the eye mechanism.

I'm going to mention the details of my first attempt at then eyes, but I wasn't happy with them and so I'm now in the process of rebuilding that part of the head. a future post will deal with my current process, this is a catch up post.

The eye mechanism showing the painted eyeball, eyelid/blink mechanism, and support structure

Back of the eye mechanism showing the pivot support shaft and the control line attachments

With the eyeball and outer structure removed, the blink mechanism and brass tubing guides are visible

Back of the eye mechanism showing the brass routing tubes and the control wire manifold

I decided to use 4 inch Styrofoam balls for the eyeballs. They're light and the right size. I found some ball joints at a remote control hobby shop (used in remote control planes) and I placed them in the middle of the balls by drilling an access hole in the back. I drilled and tapped an aluminum post in order to hold the ball joint and the eyeball while allowing rotation in all 3 axes (roll pitch, yaw). I them built a structure around the eye that holds the ball, and provides mounting points for other controls. Some 18 gauge wire was formed into eyelid actuators, and I planned on mounting foam to the wire for the eyelid skin. The metal structure also had brass tubing attached in order to route the control lines. The tubing was bent with gentle curves, and the control lines (nylon fishing line) were attached to the eye and eyelid, providing eye motion and blink controls. Finally, some more wire was shaped in order to provide an outer protective structure and foam was again cut into shapes that would form that part of the head.

Finally I covered one of the balls in Spackle in order to smooth out the foam's pitted surface, and sanded it down until it was a smooth ball. Then I painted it, and the paint screwed up the surface leaving it with a bumpy texture.

Foam head structure wrapped around the eye mechanism

The eyes took weeks to make. Each design decision made sense at the time, and I would spend hours fitting parts together to make them work. And by the time it was all done, I hated the result. You can see how it looks in the picture above. The eyes are too big, I don't like the look of the eyeball, the shape of the head is wrong, there are too many degrees of freedom in the eye movement,  and overall it just looks like a cartoon character.

So, I took a break to rethink the design. I also watched more tutorial videos looking for another approach. The vacuum forming class which I posted about was a part of this rethinking.

That's where I'll leave this catch-up entry and discuss my new efforts in a separate post.


The grape pick-up

When grapes go bed...

Due to an unforeseen series of events, I had the opportunity to play a bunch of grapes for this year's Earth Day festival. Of all the pictures taken of me in this costume, I like this one the most. The look on that woman's face is perfect.

Every year, Santa Barbara puts on an amazing Earth Day festival. For the last 5 years, I've staffed the Edible Santa Barbara booth because the magazine is published by good friends and neighbors, and the other folks who staff it are wonderful to be with. As we were setting up this year, one of the people who organize the event and knows that I'm a cosplayer, mentioned that one of the other booths had a grape costume this year. I asked her to introduce me, but when I got to the booth they lamented that their guy who was suppose to wear the costume had to back out.

My job was to let folks know about the Vintage 2014 multimedia documentary on local wine production.

Well, I volunteered to fill in (begged them may be more accurate). At first, I think they were just happy to have someone be in the suit, but it didn't take long to realize they had more than they could ask for. When I cosplay a bunch of grapes, no one is safe.

I wasn't normally in the glamour photos, but several people requested that I join them.

Vintage2014 is a multimedia documentary about making wine in the local area. They put up a booth to promote their work, and inside was a backdrop for taking pictures. They offered to take free glamour photos of anyone who came by.

I had a great time interacting with the crowd, and the kids loved it - like the one you can see on the right side of the photo about to whack me with his balloon sword.

My job was to bring people to the booth. And once we got going, the booth had a continuous line of people asking about the project and getting their pictures taken. I had a great time interacting with the festival attendees as well as the folks staffing the other booths.

I realize that there's nothing else like this at the festival, and it's the size of two city blocks. So few people get a chance to interact with a cosplayer or mascot (I'm not sure how to categorize this) that they just went wild when they came across me. And I had a great time being big and bold. I need to make one of these costumes for myself.

The other nice thing that came out of this experience is that friends finally got a chance to see what I can do in a costume. Now the Edible Santa Barbara folks want to come up with a costume that I can wear next year. And I'll bet they're not the only ones. I've made it clear to the organizers that if they can come up with a concept, I'll make and wear the costume.


WonderCon 2014

Cosplayers, attendees, and passerbys mingling outside the convention center during WonderCon

WonderCon was fantastic this year. It's a smaller version of the San Diego Comic-Con, with comic publishers, artists and writers, TV and movie previews, cosplayers, sessions covering all sorts of geek culture, and a festival feel that only a large group of fanatics can bring to an event. And with only 50,000 or so attendees (compared to San Diego's 135,000) it is much more relaxed and accessible. Have I mentioned how much I loved this event.

This post is going to be a quick overview of the event. In later posts I'll go into more detail on specific geek topics.

Logistics

Friday morning lineup before the doors open

If you can get to a con early and register, by all means do so! I drove down to Anaheim on Thursday and was able to pick up my 3-day pass with no line at all.

Friday was the first day of the con, and I got in line an hour and a half before opening. That's plenty of time for WonderCon, putting me towards the front of the line. The main reason to be in line early is for the quick-to-sell-out convention exclusives. As often happens, they let the line in 1/2 hour early (compared to the published start times), and that happened all 3 days of the convention.

I didn't do the line on Saturday and Sunday, because I was able to get the exclusives I was after on the first day. I just walked onto the exhibit floor about 15 minutes after the waiting lines were let in, and that was still about 15 minutes before the published start time. Did i mention how much I love this con?

Program Sessions 

Panel on the psychology of Star Trek vs. Star Wars, with Chase Masterson, Dr. Ali Mattu, Catherine Taber, and Dr. Andrea Letamendi. Not shown is moderator Brian Ward

This year I planned on spending more time at the programmed sessions, hearing presentations from various comics publishers and creators about their plans for the year. Also, there would be some instructional sessions, and some presentations from TV and movie studios about their upcoming features. I had mixed results, probably attending more than usual, but a lot fewer than I had planned.

It's at these sessions that I usually discover new geek sub-cultures. This time I discovered the Carol Corps, and it's a group I enthusiastically joined and will support. They are fans of the character Carol Danvers and her current superhero identity Captain Marvel (her overall history is a bit complicated). I was really impressed with the group's values (a distinctly feminist bend) and how they interacted. I also discovered Kelly Sue DeConnick, the writer of the character's current incarnation, whom I now adore and will read anything she writes. I think this was my overall find of the convention, and I'll write more about it all in a future post.

Another fantastic panel was titled Psychology of Star Trek vs. Star Wars. A pair of geeky psychologists (Dr. Ali Mattu and Dr. Andrea Letamendi) were joined by an actor from the Star Trek franchise (Chase Masterson) and a voice actor from Star Wars: The Clone Wars (Catherine Taber) in a fantastic discussion of relationships as portrayed in the two franchises. Rather than try and summarize the panel, I'll direct you to a pretty good recap of the session. Overall, the discussion was so good that I've now subscribed to the two Dr.s nerd related podcasts and I'll write more about them later.

The last of the really good panels (I attended others that were not so good) was called Batgirl Begins Again. The panelists were Gail Simone (the current writer of the Batgirl comic), Dr. Adrea Letamendi (yes, the same one who appeared in the previously discussed panel), and Dr. Travis Langley. They had a fantastic discussion of the portrayal of the Barbara Gordon character through the trauma of being shot & paralyzed by the Joker (and how she was used as nothing more than a plot device), through the character's transformation into the wheel chair bound hero Oracle, and the current transformation back to a recovered Batgirl. Fascinating, fascinating, stuff, and just reinforced my crush on Dr. Letamendi.

Toys, Collectibles, and Stuff

The only 'must have' collectible I had on my list going into the convention was the official shirt, which had a color illustration of Wonder Woman by Cliff Chiang. As I mentioned, on Friday I got into line early, and we were allowed onto the exhibit floor a half hour before the official opening time. I got into the Graphitti Designs line early and only had a 5 minute wait to get that shirt (and a few others). By the time I finished my transaction, it looked liked the line snaked down the convention floor. It pays to get in line early.

This year, I picked up a couple of the Pop Vinyl figures from Funko. I had seen them around the cons before, but when I was buying some comics, I saw an Andorian figure from Star Trek. An Andorian is on my cosplay TODO list, so I looked it over, and it really grabbed me. And at $10 it's an easy impulse buy. Later I saw a Klingon figure in the series and bought it. I figured I'd get a Vulcan to complete my set, and of course spent the rest of the con fruitlessly looking through every vendor's booth. There are HUNDREDS of these figures from every pop culture franchise, and so now I'm hooked.

Finally, I picked up a Darth Malgus figure (once again, my cosplay impacts my collecting) and a Wonder Woman statuette (okay, I have NO cosplay plans for this character, I'm just a fan of Wonder Woman).

Cosplay & Masquerade

As discussed in previous posts, I brought my Darth Malgus and Headless Horseman costumes. On Friday I took a couple of hours to be Darth Malgus, and I had a fantastic time! The crowds were great and very appreciative. I had forgotten how much fun the cosplay is, and at WonderCon, it was even more enjoyable. There were a lot of other cosplayers, but even so, it's not anywhere near as many as at Comic-Con, and so the cosplayers seem to stand out more. For instance, there were no other Darth Malgus cosplayers. And on Saturday, when I was the Headless Horseman, the crowds went nuts because there was nothing like him at the con.

One of the difficulties I have with my cosplay is that I can't easily take selfies. So all the pictures posted of me were found on the net, posted by other photographers.

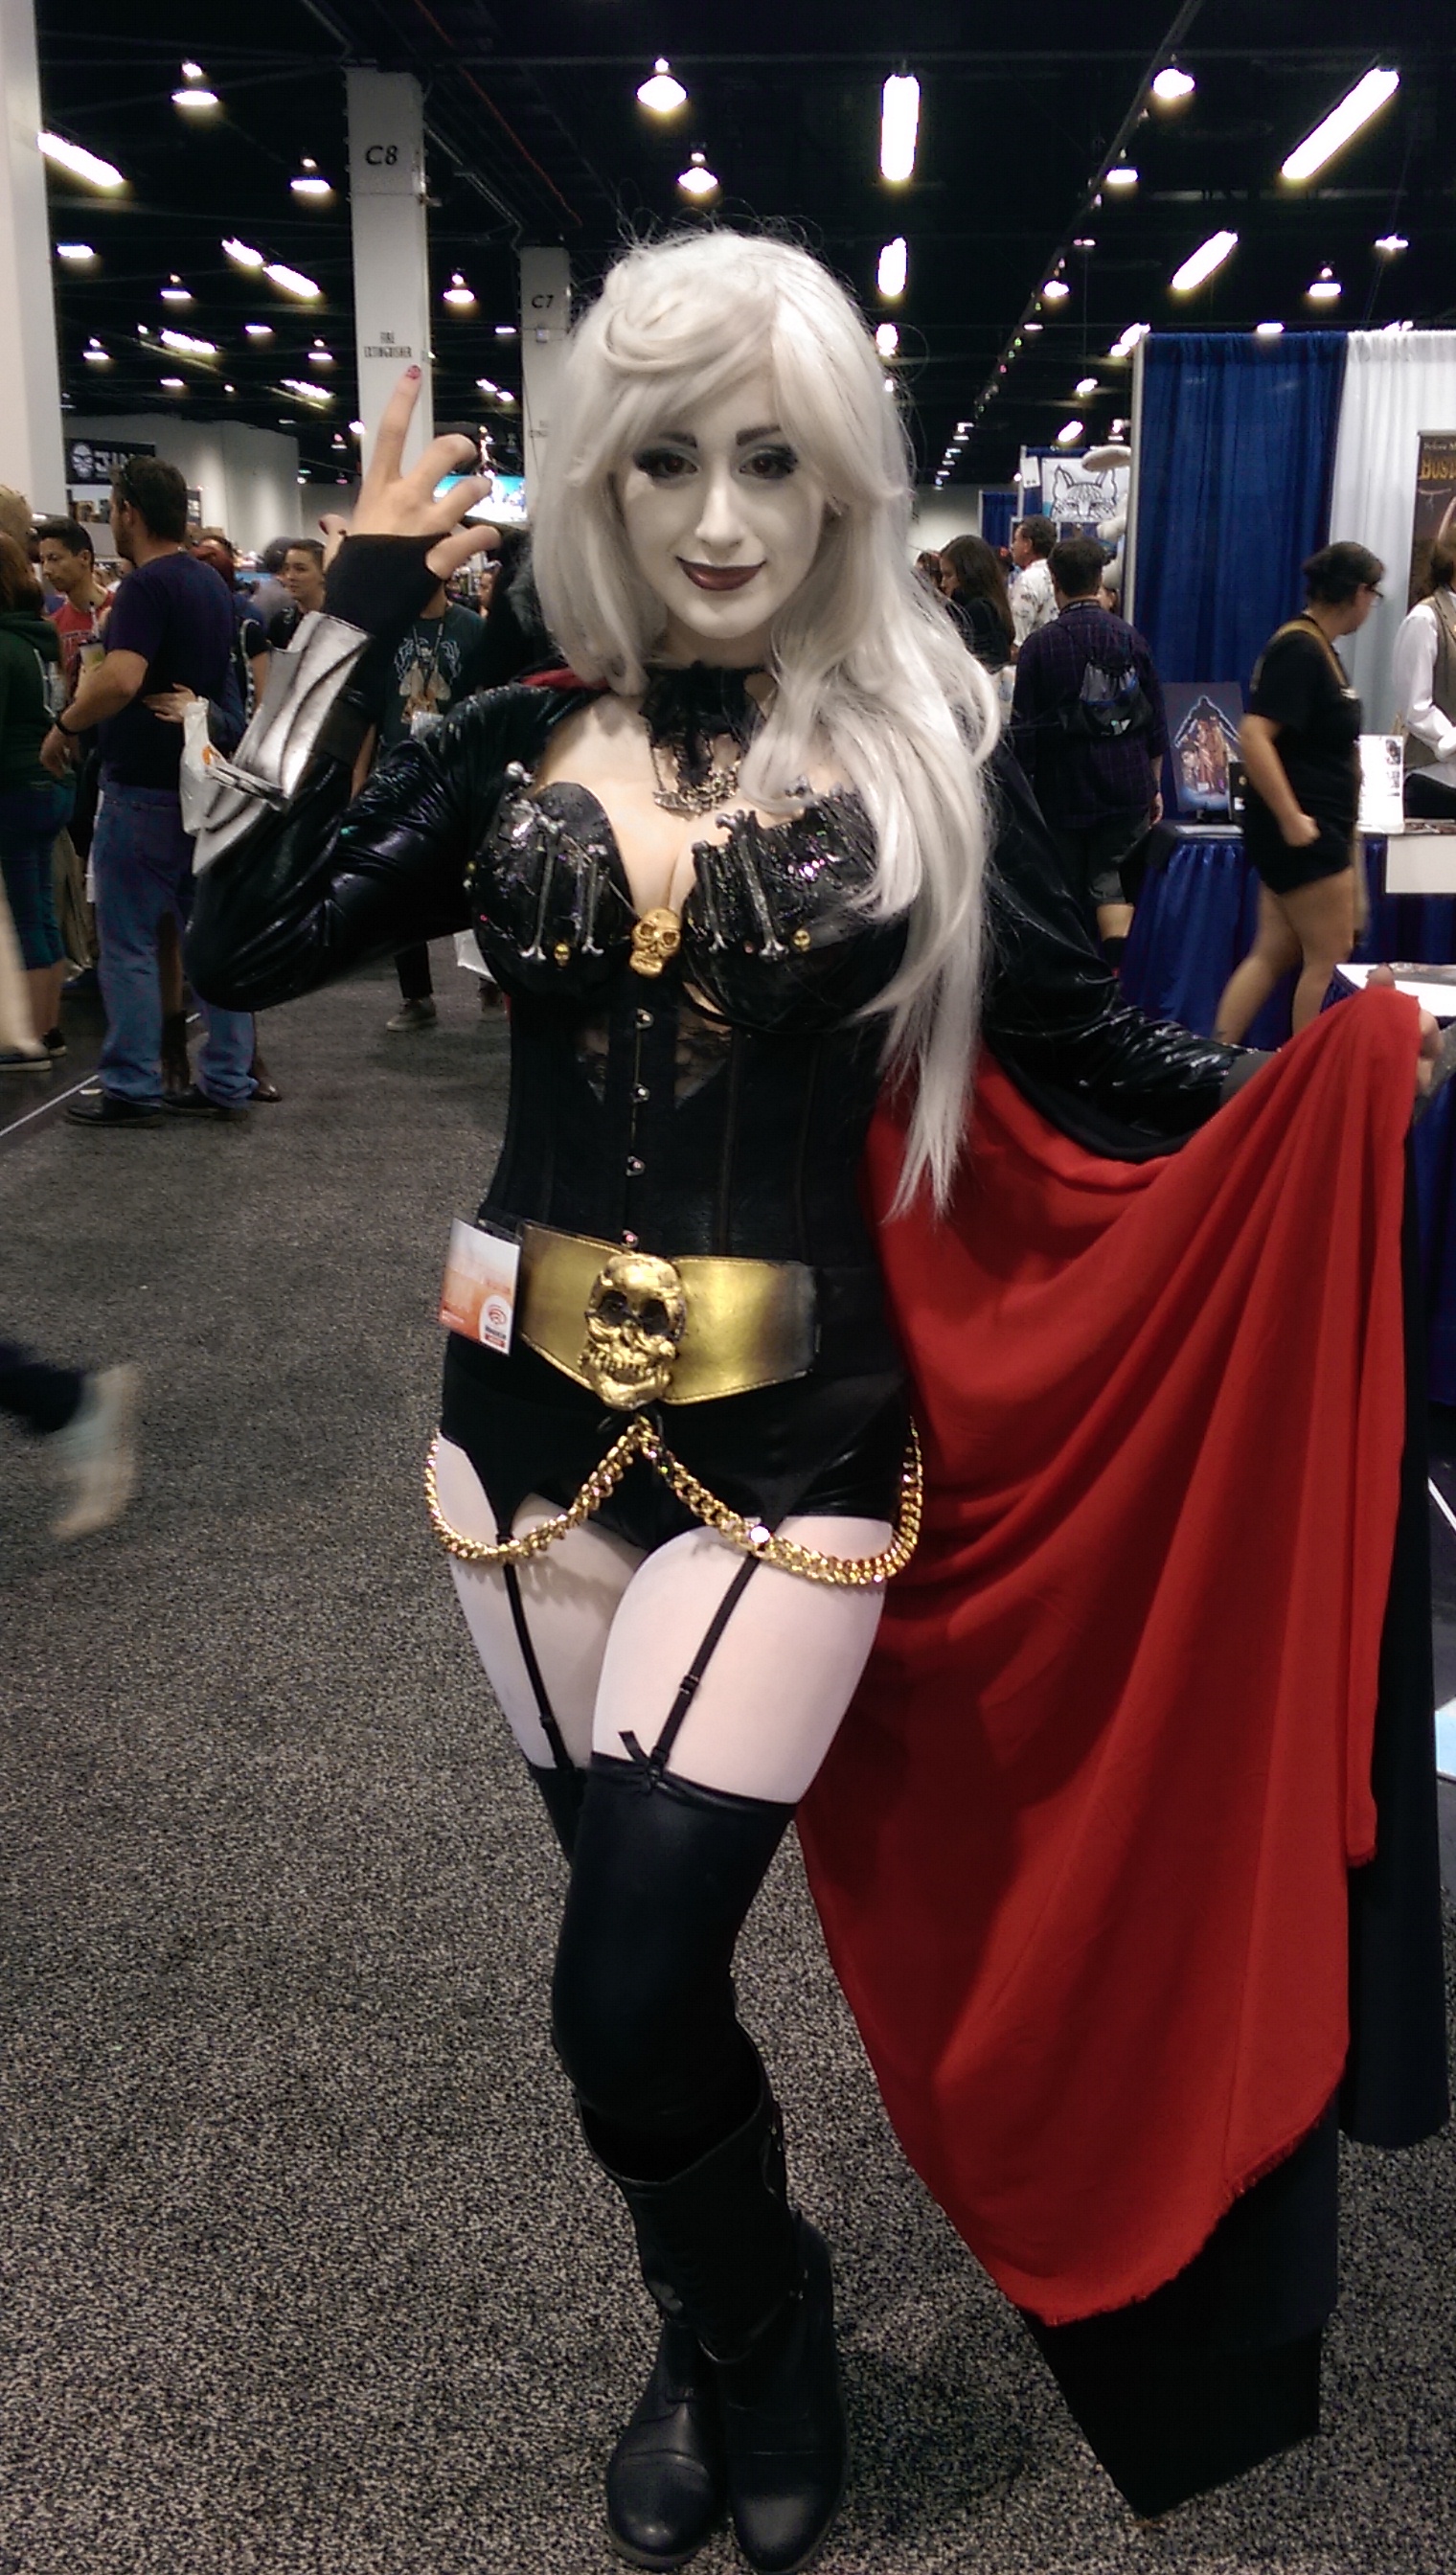
There were a lot of other, fantastic cosplays at the convention, and here's a gallery of the pictures I took. There were so many more, and it looked like everyone was having a great time, both inside and out of costume. And the couple of program sessions that were full (and I couldn't get into them) were both cosplay related.

The masquerade, here showing the Nerds Who Say Ni.

On Saturday night was one of my favorite events, the Masquerade. This cosplay competition takes place in the arena, the big sports center that houses the large WonderCon events like movie previews. There's plenty of room, so I arrived just as it started. You can see from the picture that there's a giant screen presenting whatever is happening on the stage, so no matter where you sit you get a pretty good show.

Although I love watching people present their costumes and see the performances, I have no interest in competing myself. I am amazed by the detail of the work, and the fun (well, some of them anyway) performances. I couldn't even tell you who won what awards, so I'll just direct you to a better geek journalist who covered the event.

Two members of Saber Guild performing while the judges deliberated.

After the costume presentations, while the judges were deliberating, we were treated to a show by Saber Guild, a star wars themed theatrical combat troupe that uses light sabers. I would join that group in an instant if they were closer to Santa Barbara, but they're centered in Anaheim. For now I'll just enjoy watching their performances.

Comics & Artwork

Although I've put it at the end of the review, comics are the heart of this event. There are publishers, writers, artists, and retail vendors. And really, all the other geek activities I've discussed revolve around comics.

I bought a few recent trades paperbacks, including some of the Valliant titles. I also picked up a few older trades that I collect (Legion of Super Heroes) or which I've loaned out never to see again (early Fables). 

This year I only picked up a couple of pieces of art, including a stunning poster of Wonder Woman by Paul Gulacy, a beautiful Star Wars piece, and a couple of silly cat heroes (the Avengers as cats). No original comic art this year. I'll wait until Comic-Con.

And that's the brief recap. I'll be making more extensive posts on some of the topics introduced here. Overall, this was a very enjoyable convention, and a much more relaxed event than Comic-Con.